DaVinci Resolve 19.1: Small Updates with Big Impact
We’ve pulled together some of the best updates in this release, though there’s plenty more hiding under the hood, waiting to surprise you.
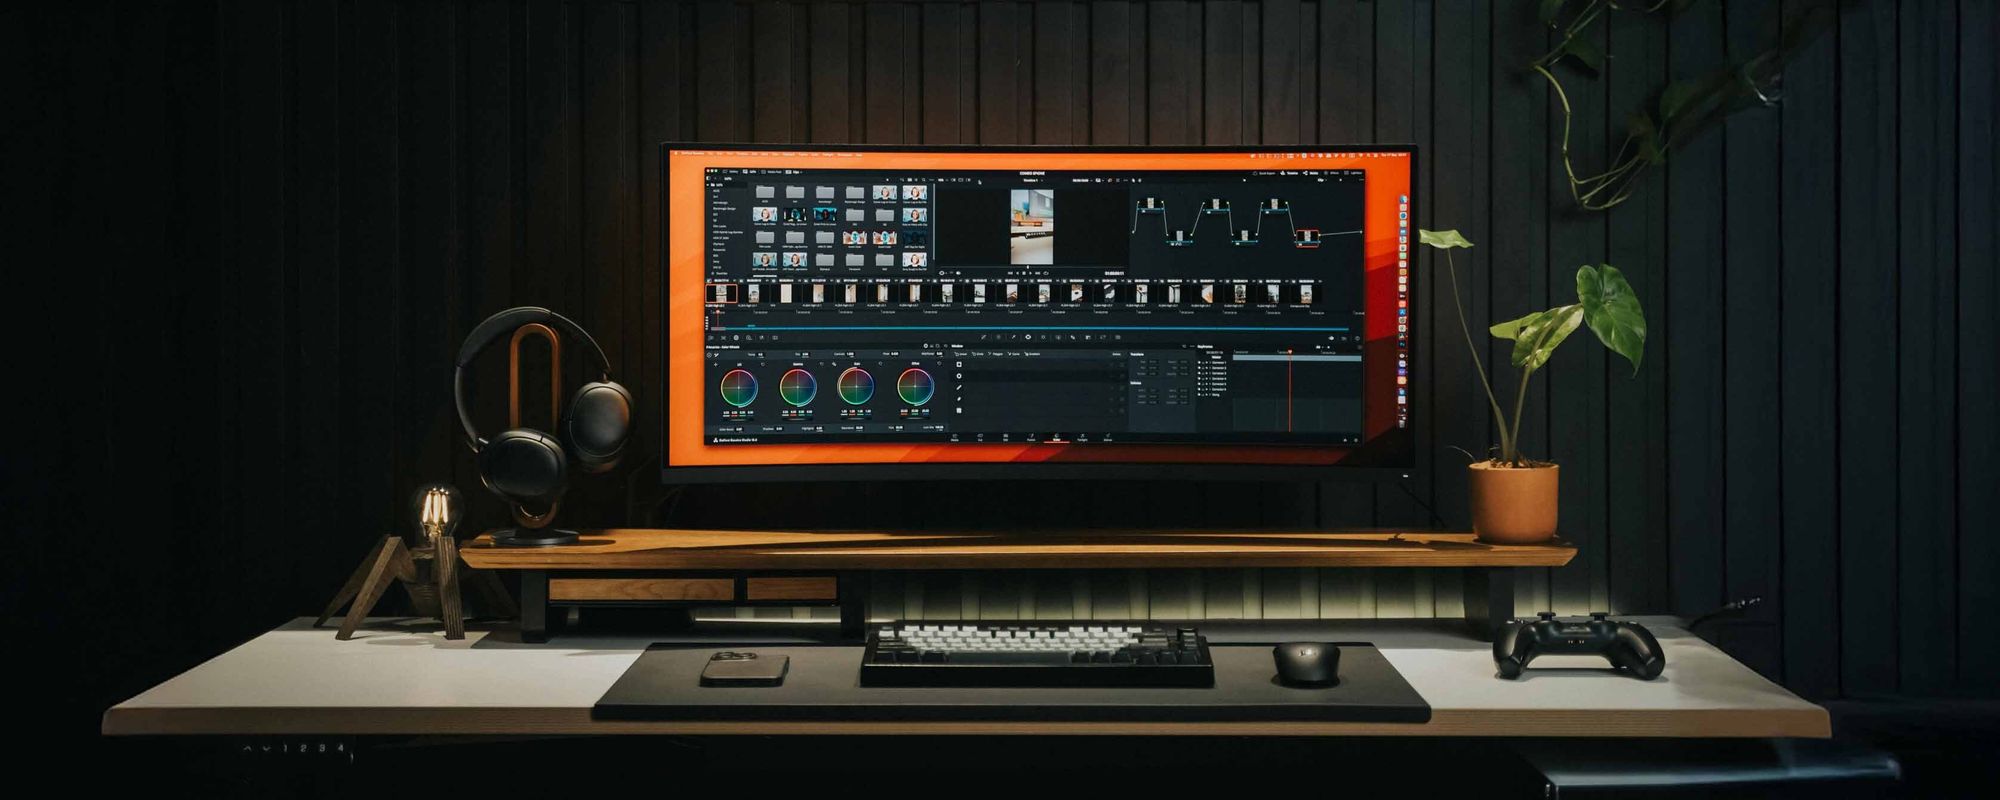
DaVinci Resolve has always been the gift that keeps on giving, loaded with features that make our editing lives feel like magic. Now, version 19.1 might not be as big as the DaVinci Resolve 19 update, but it’s one of those updates that sneaks up on you — tiny changes that end up transforming the way you work. You might overlook them at first, but once you really get into them, you’ll find they’re the real thing, making your workflow faster, more intuitive, and surprisingly effortless.
Media Management Updates
Keeping media organized just got easier. With 19.1, automatic syncing and metadata retention mean less manual work and more editing flow.
Resync Bins & Automatically Resync Media Files
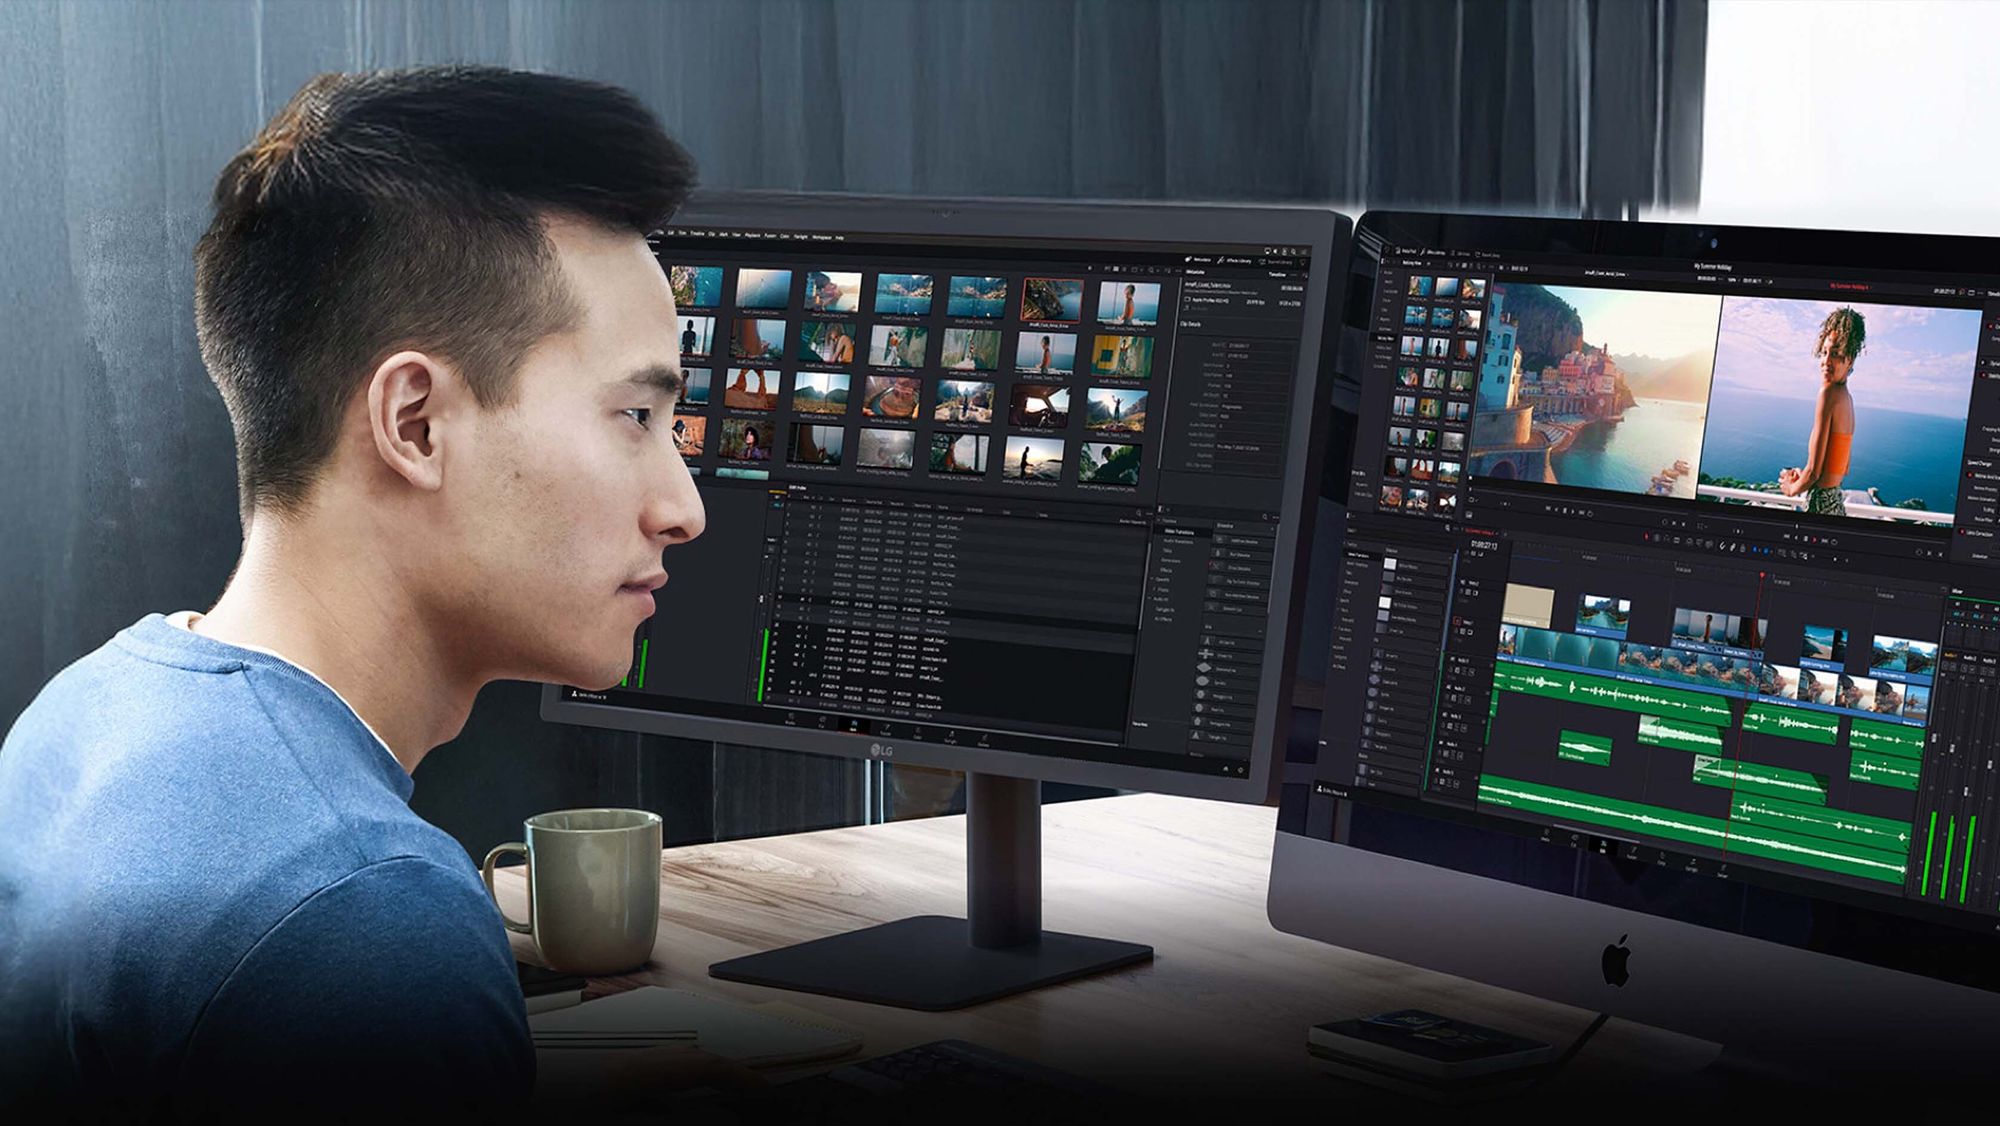
Now, with Resync Bins, new files added to folders are automatically synced into the Media Pool without needing to be manually dragged in. This automation saves time and prevents interruptions by making sure any additional files added to your media folders appear right where they need to be in Resolve.
Even better, if files are moved or deleted from the folder, they won’t be removed from the Media Pool. Instead, they’ll appear as offline clips, ensuring you don’t lose any metadata or unwittingly alter your edits. This prevents accidents if, say, a file gets moved or if there’s a temporary network hiccup. It’s Resolve’s way of keeping things in line and maintaining continuity without breaking a sweat.
Note: The Resync feature only applies to bins created by importing an entire folder through the Create Bins option in the Media Storage panel or by dragging and dropping folders into the bin tree. Manually created bins won’t have this feature, so you’ll need to import folders directly if you want this hands-off media management.
Retain Embedded Audio and Video Metadata in Manual Sync
For those who like to fine-tune their audio and video alignment, Resolve 19.1 adds new options to retain embedded audio and video metadata during manual syncing. When syncing audio manually in the audio pane, retaining the camera’s original audio track (embedded audio) is now possible, which previously would be overwritten with linked audio by default. This is a small but mighty setting for those who need to keep every bit of metadata intact for continuity and consistency.
The same goes for video metadata — if your workflow relies on rich metadata tied to video clips, this setting will prevent audio syncing from discarding that data, keeping all original information intact.
Audio Improvements
From expanded track control to multi-source ducking, here are some great upgrades for anyone serious about their audio.
Ducker with Multiple Sources
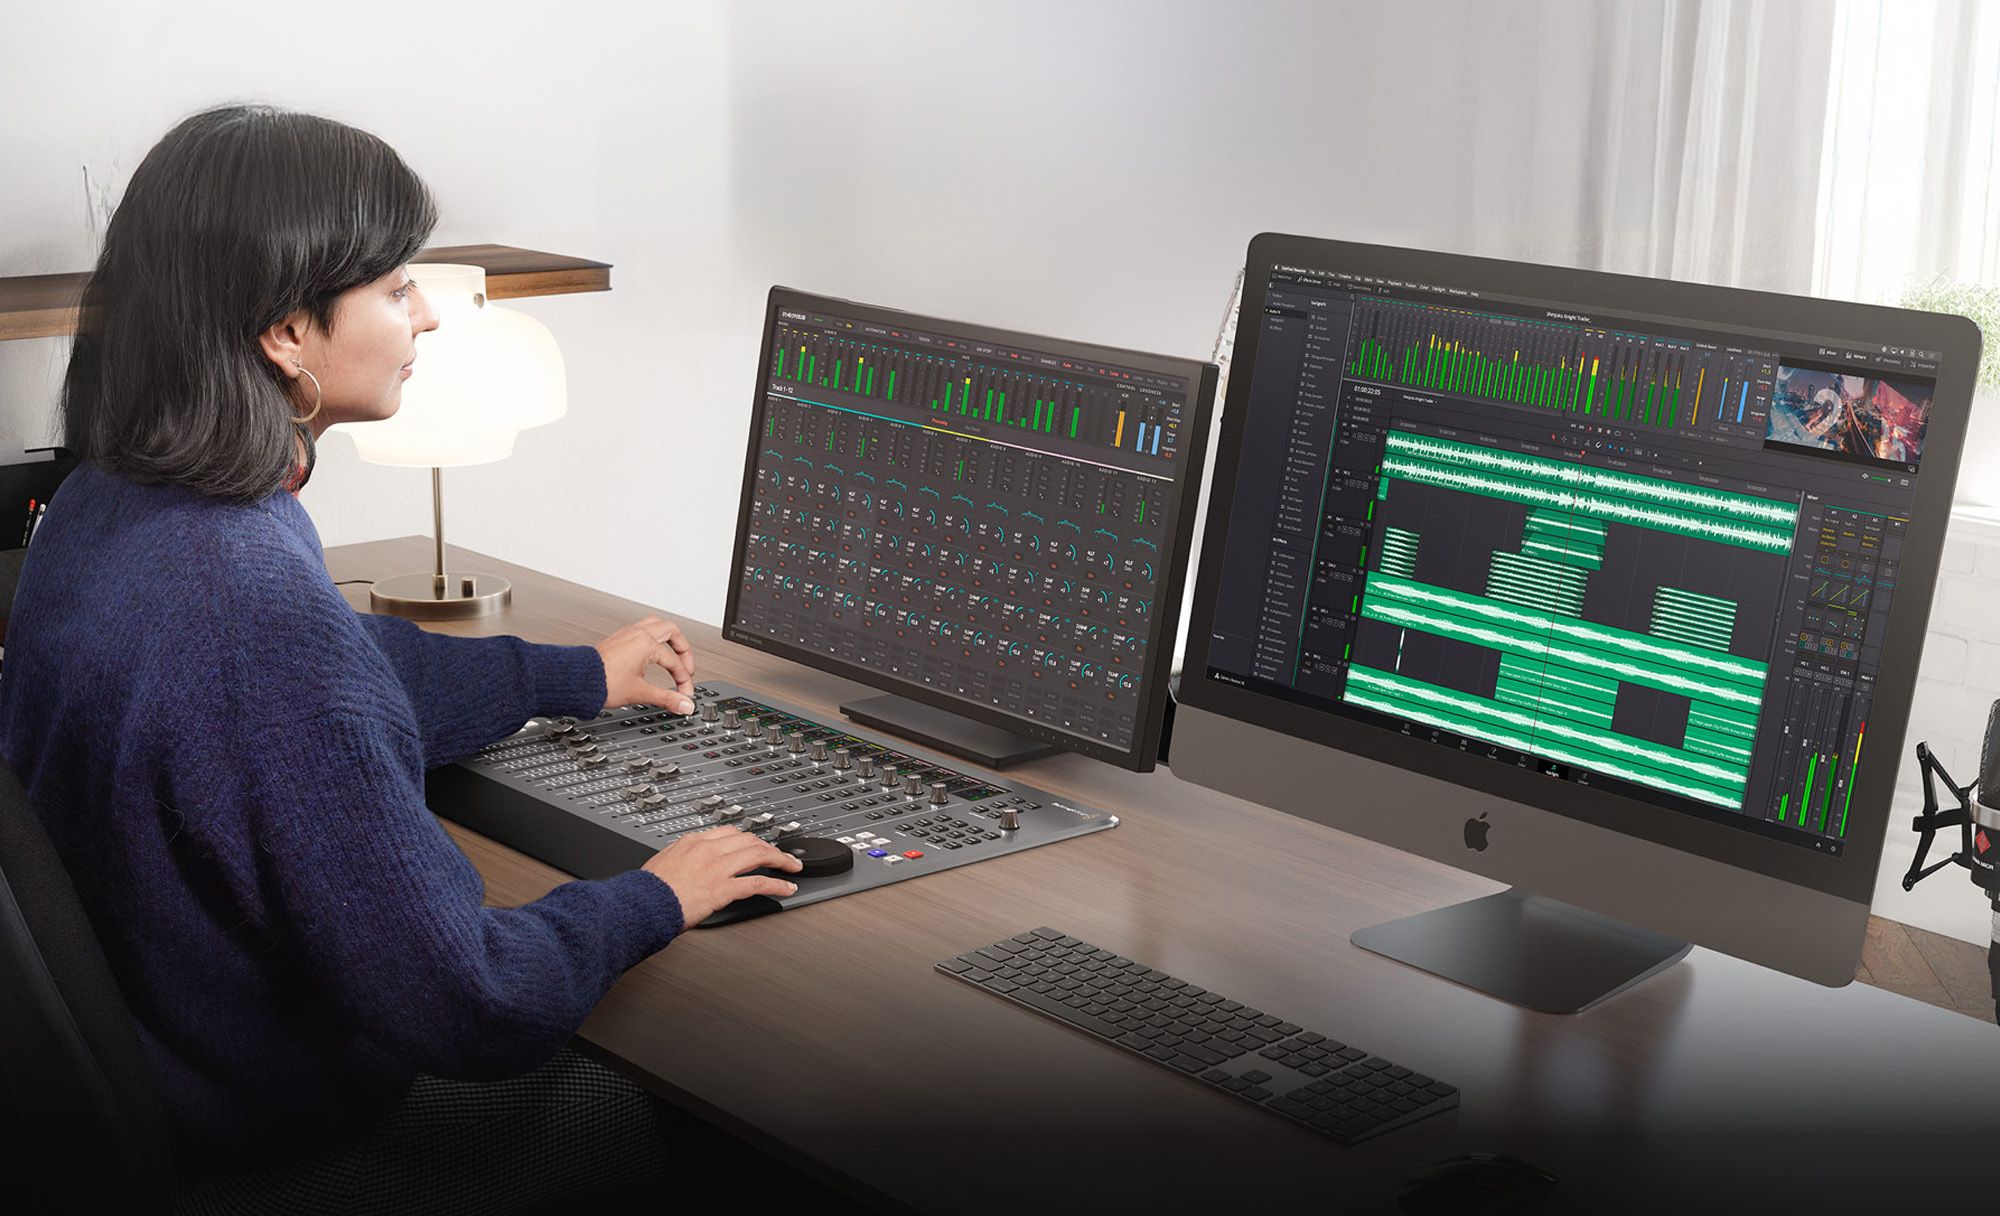
This change is bound to make anyone working with layered audio tracks breathe a sigh of relief. Previously, the Ducker could only monitor one track, which was a bit limiting for projects with multiple mics or complex audio setups. Now, you can add multiple sources to the Ducker, allowing it to monitor several tracks simultaneously. This is ideal for multi-mic setups, like when you have both a lav and a boom mic recording the same scene, and need the Ducker to respond to both tracks.
The update means your Ducker can now keep background music in check no matter where the dialogue or primary audio is coming from. This might seem small, but it’s a massive win for editors and sound mixers aiming for those perfect audio transitions in multi-track setups.
Audio Track Controls on Edit Page
In Resolve 19.1, the Edit page has become a bit of an audio control hub. You can now access EQ, dynamics, and panning directly within the Edit page’s mixer panel, eliminating the need to jump over to Fairlight for basic adjustments.
This addition might not seem groundbreaking at first glance, but it’s a huge time-saver for anyone who’s tired of the constant back-and-forth.
New Track Duplication and Reordering Options in Fairlight
Fairlight users, rejoice! We now have the ability to duplicate audio tracks complete with all clips and settings, making it easier to experiment with different mixes or effects without disturbing your original work. Just right-click on the track header, and bam! — instant duplicate, ready for tweaking.
Additionally, you can even reorder audio tracks by simply dragging them in the mixer. Need your background track higher up or want to bring that voiceover to the forefront? Just click, drag, and drop. This makes organizing and experimenting with different audio setups feel a lot smoother and less rigid.
Automatic Caching for Fusion Effects
In previous versions, caching in DaVinci Resolve worked well for many effects and layers, but Fusion effects were left out, meaning editors had to cache them manually. But now, they’re finally getting the caching treatment they deserve.
With Smart Render Cache mode enabled, Fusion effects applied directly to clips are now automatically cached, allowing for smoother playback and faster rendering times. Previously, Fusion effects could weigh down performance and required manual caching adjustments that were anything but “smart.” This update means less waiting around and more fluid editing, as Resolve now recognizes these effects and caches them without extra clicks or settings adjustments.
This improvement is particularly helpful for heavy-duty Fusion effects or compositions involving multiple layers. Now, Resolve’s caching system will handle these effects in the background, ensuring that even complex projects stay responsive and don’t drag your workflow to a halt.
Paste to Playhead
With DaVinci Resolve 19.1, pasting clips has become a lot more intuitive. Now, when you paste a clip, it goes directly to where your playhead is positioned on the timeline, no matter what.
This may sound obvious, but in the past, clips would sometimes paste at the ‘In’ point, leading to a fair share of misplaced edits and frustration. Now, you can confidently copy, cut, and paste clips, without worrying about any surprises along the way. This change may seem small, but it’s a huge time-saver and headache-reducer for anyone managing lots of clips on a busy timeline.
Timeline and Render Queue
These guys simplify timeline exports and add flexibility to the render queue, making it easier than ever to manage complex projects.
Render Presets Linked to Timeline Resolution/Frame Rate
Another handy update is the ability to link render presets to a timeline’s resolution and frame rate on the Deliver page. This feature automatically matches your export settings to the current timeline’s resolution and frame rate, making it easier to work with projects that have different setups. Gone are the days of adjusting presets manually for each timeline — simply set it to “Timeline Resolution” and “Timeline Frame Rate,” and let Resolve take care of it. It’s a small change that packs a punch, simplifying export processes, especially for editors handling multiple formats.
Reorder Jobs in the Render Queue
The Render Queue gets a touch of organization with drag-and-drop job reordering. Previously, the queue was a one-way road — you had to add jobs in the exact order you wanted them rendered. Now, if you decide a particular job needs priority, just drag it up to the top. This level of flexibility makes managing multiple export tasks a breeze, allowing you to prioritize or rearrange jobs without having to reset the queue.
Dual Screen Mode Improvements
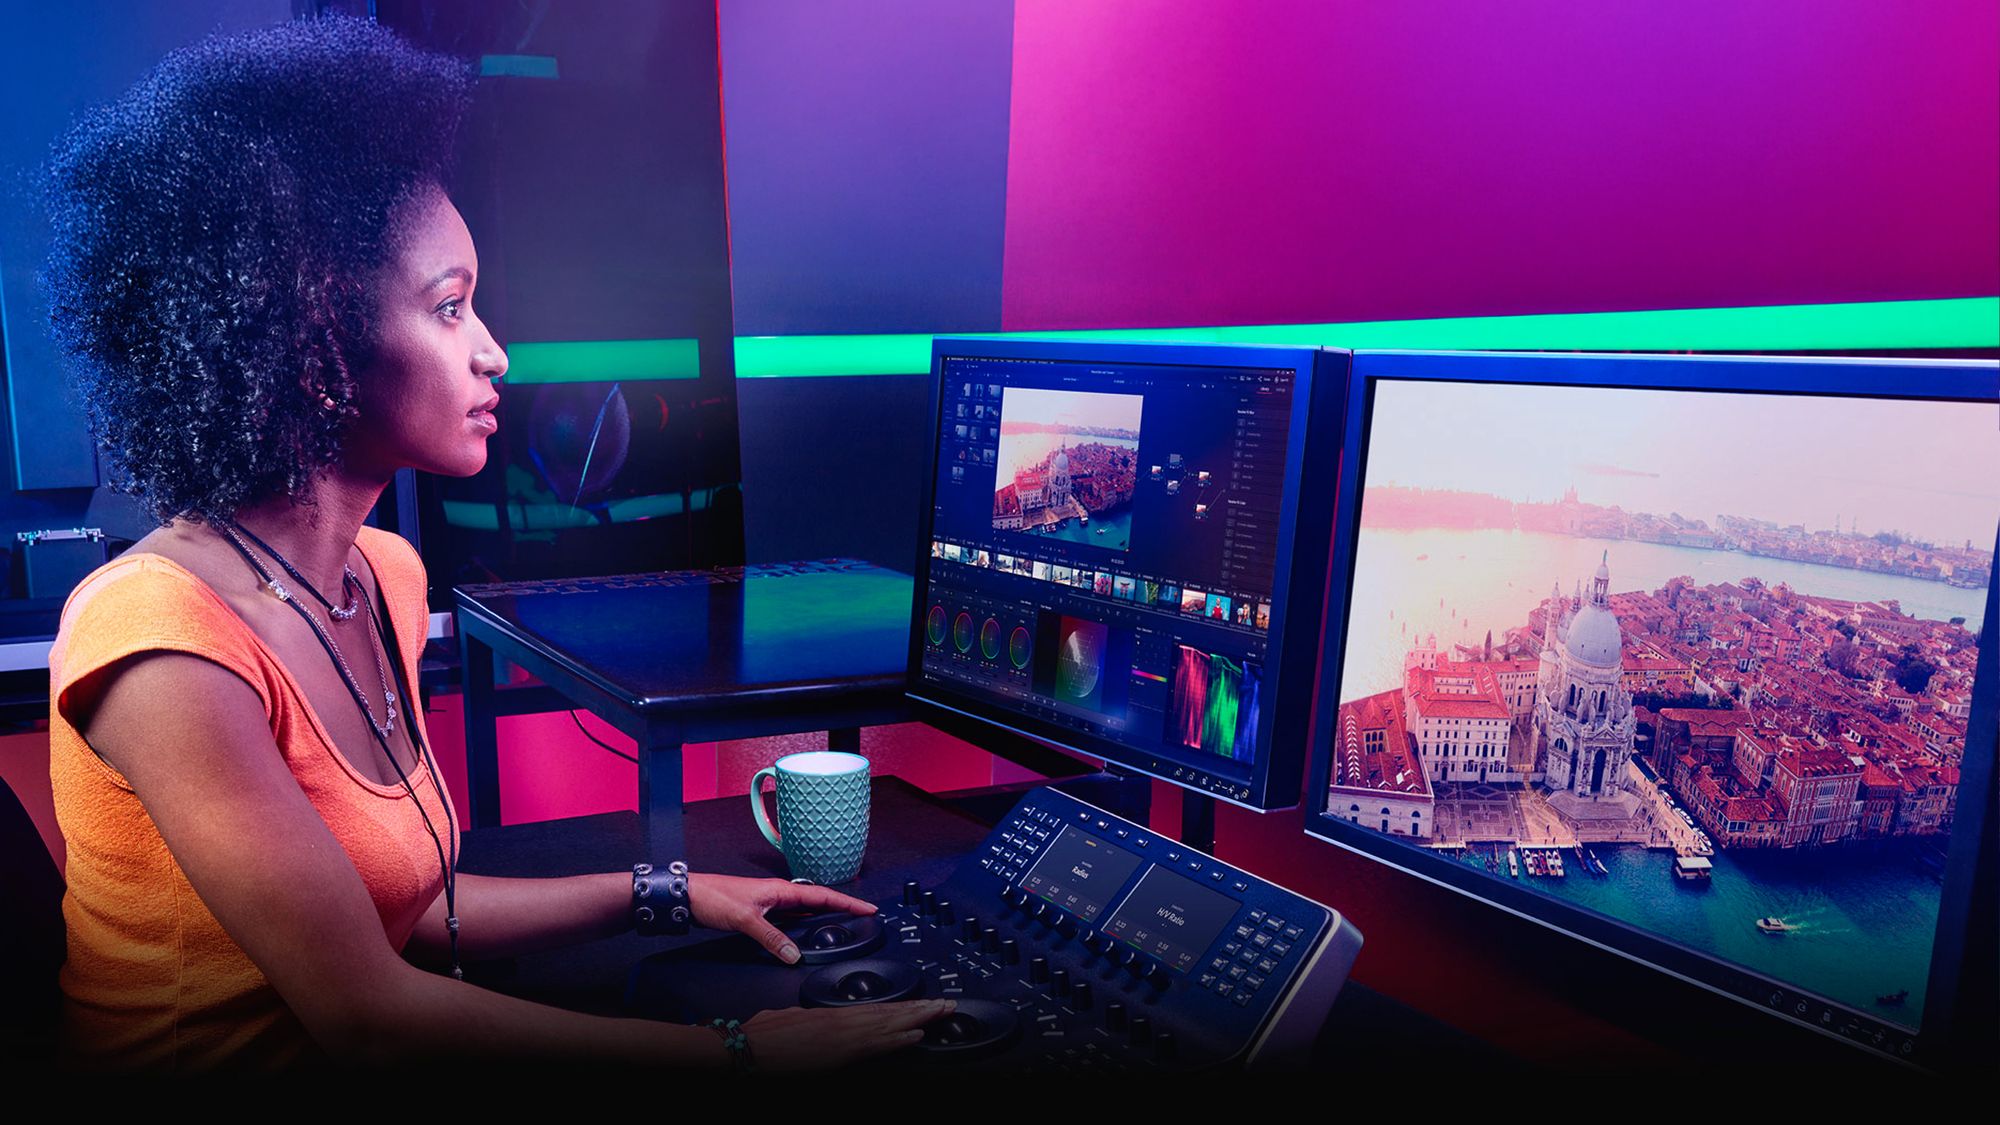
With the Dual Screen Mode improvements in Resolve 19.1, you’re no longer restricted to a fixed layout on your secondary screen. Now, the secondary screen can be a resizable window, allowing you to adjust its size and position based on your needs. This flexibility is ideal for editors who want to use their second screen for other applications alongside DaVinci Resolve — like a script, notes, or reference images.
The New Brand-new Switch Tool
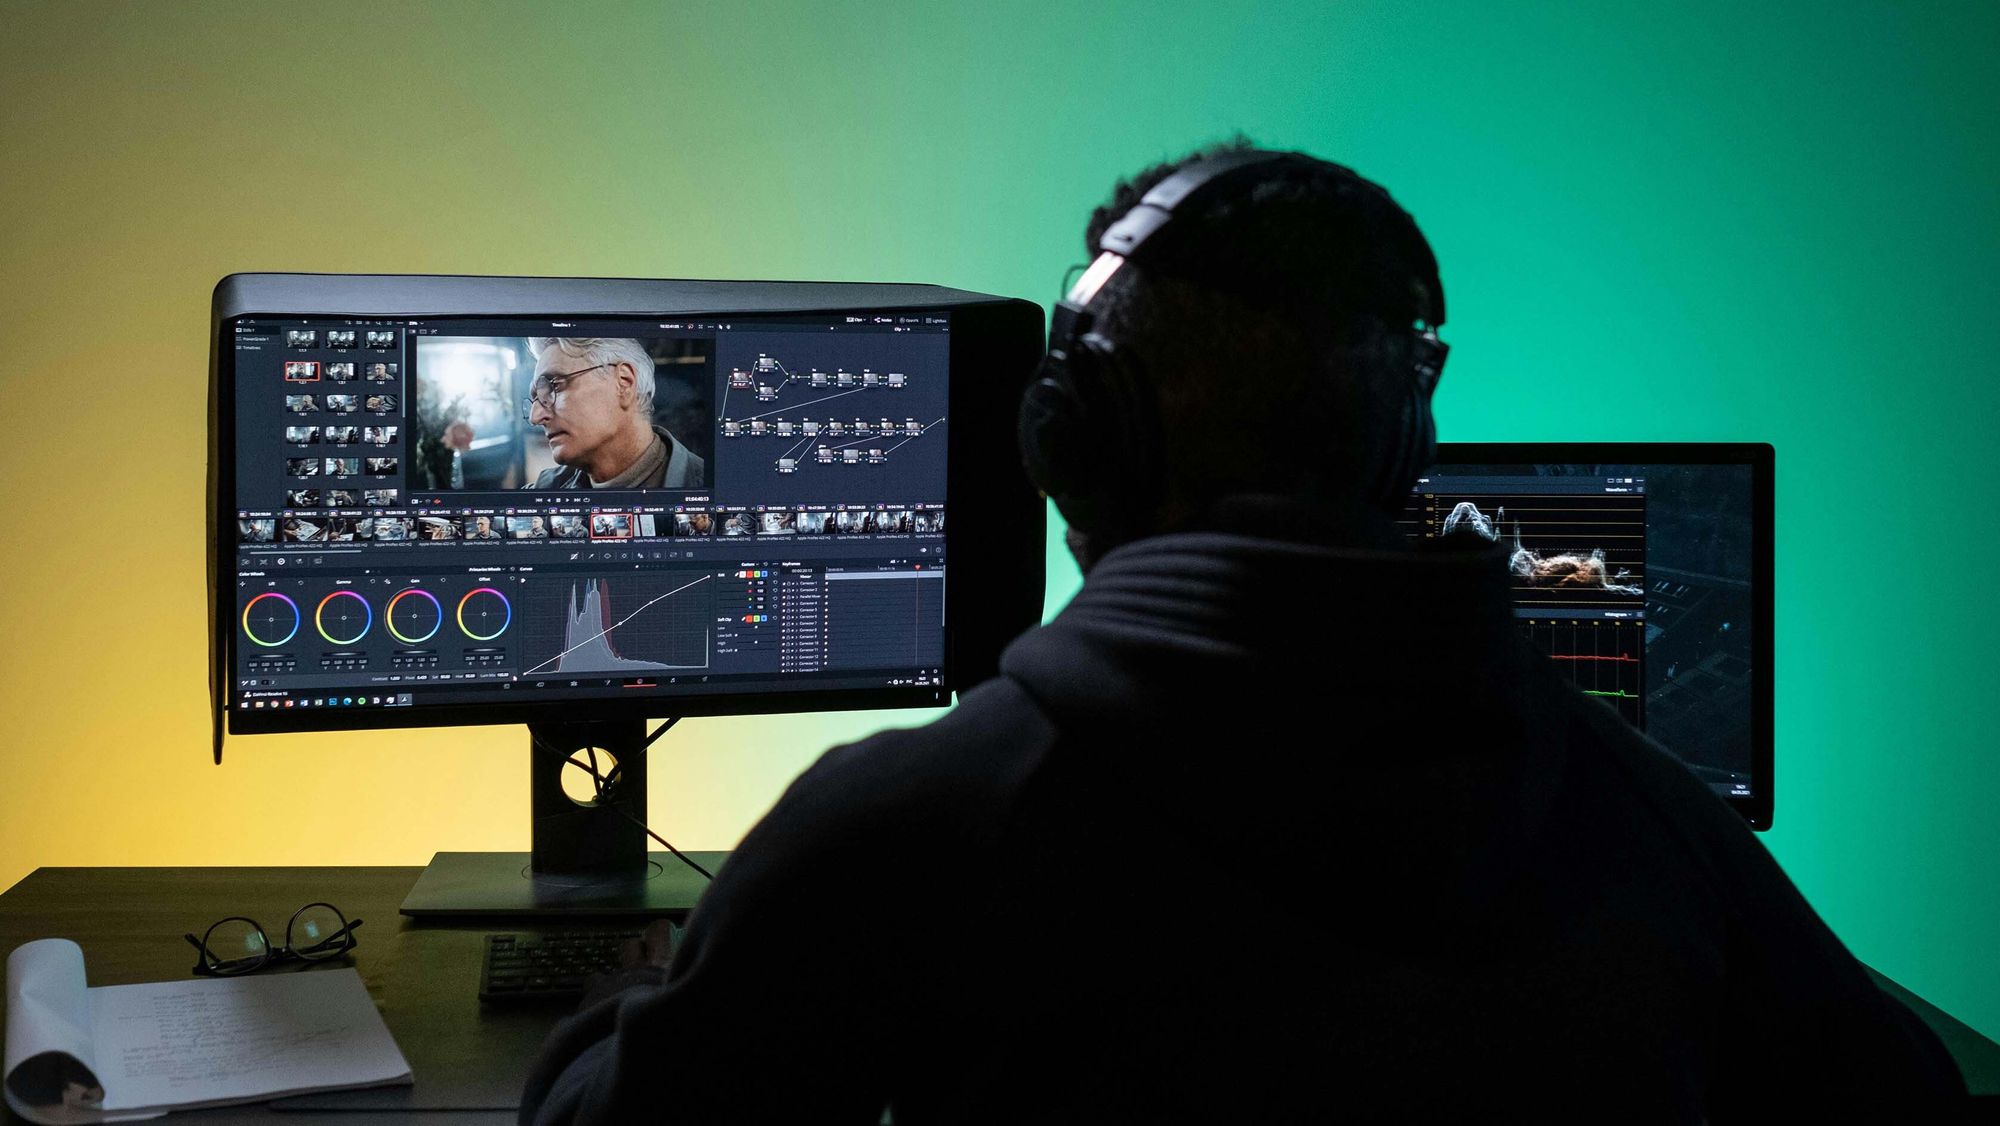
Tucked into DaVinci Resolve 19.1 is the Switch Tool, a deceptively simple addition to Fusion that’s bound to become a fast favorite. Instead of stacking up separate nodes for each effect or layer, you can now connect up to 20 inputs into one Switch node and flick between them like changing channels. Backgrounds, text, colors — you name it, you switch it.
You can even add the Switch Tool as a modifier on parameters. So if you’re constantly swapping between settings, colors, or styles, this tool lets you switch them all with just a click. No more hunting through nodes or reconfiguring settings — just a smooth, fast toggle exactly when you need it.
Conclusion
DaVinci Resolve 19.1 may not be the biggest thing since shredded cheese, but it does prove that sometimes, the little things make the biggest impact. From streamlined media management to smarter audio controls, automatic Fusion caching, and the intuitive new Switch Tool, these enhancements may seem small, but they’re the kind of details that make a huge difference in daily workflows. Whether you’re deep into a complex project or simply tweaking clips, 19.1 keeps you moving forward with fewer clicks, fewer headaches, and a lot more time for creativity.